This ensemble was inspired by Wallis Simpson’s 1937 wedding
suit. Pattern includes the instructions
for the gown, jacket, and two hat styles, and short dress.

Dress

Fuse the interfacing pieces to the lower jacket fronts and the collar.

Darts

Shoulder seams

Stitch around the interfacing on the collar, trim the seam allowance.

Turn the collar right-side out.

Under-stitch the bodice lining at the neckline.

Side seams

Skirt seams, do not stretch these seams while sewing them!

Skirt lining seams

Stitch the skirt to the bodice.

Hook on the back skirt opening

Hem the skirt lining.

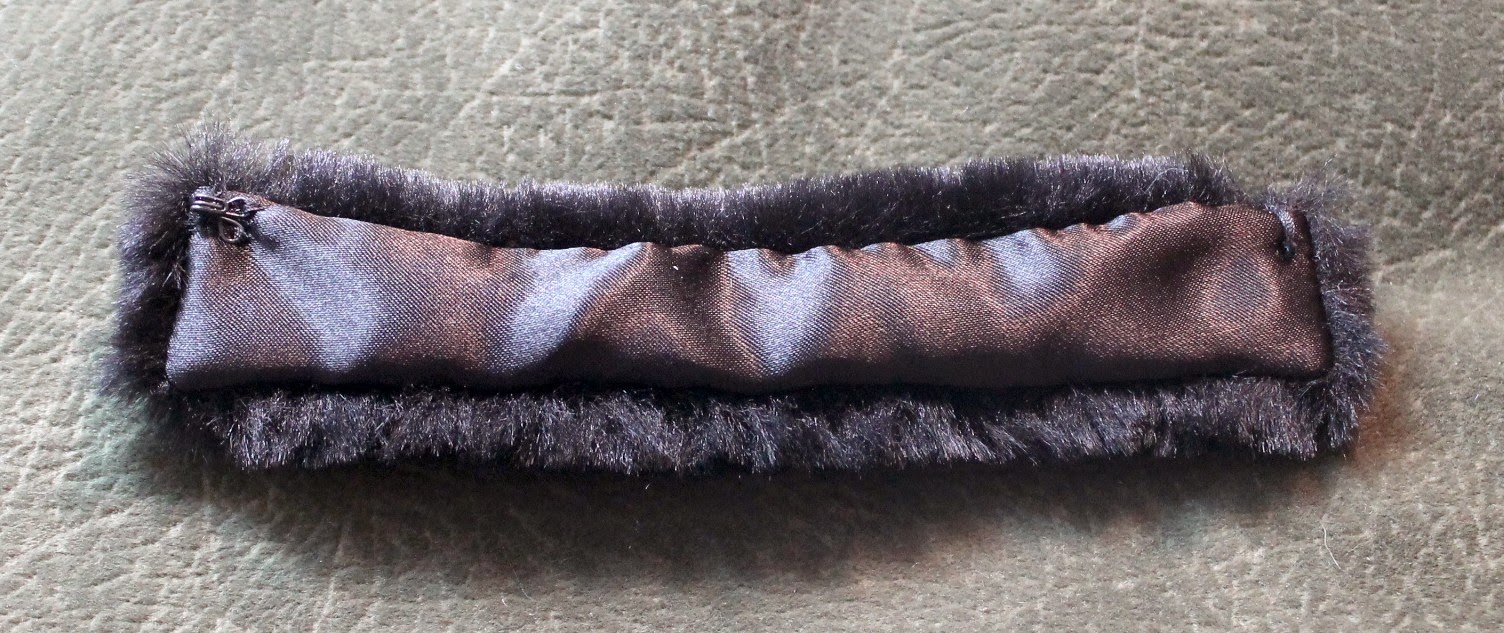
Marking the skirt hem. Notice the rippling seam on the side of the skirt.

Jacket
 Jacket lining center back seam
 Press seam open
 Upper front jacket lining shoulder tucks and stay-stitching
 Gather the upper jacket fronts and sleeves.
 Stitch the upper jacket fronts to the lower jacket fronts.
 Right side

Shoulder seams
 Sleeves
 Gather only the top of the sleeve.
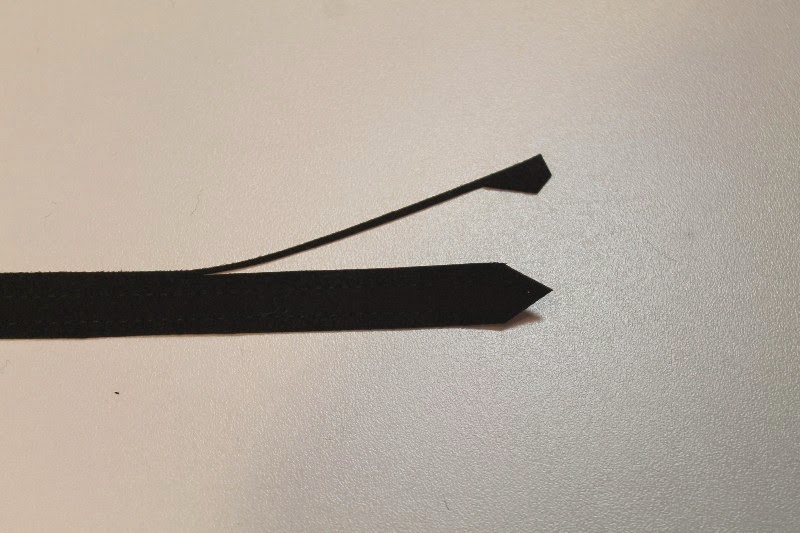
 Jacket front extension
 Trim corners
 Turn right-side out, press, and baste.
 Baste the jacket extension to the left front of the jacket.
 Stitch the jacket fronts and press.
 Gather the top of the upper jacket fronts.
 Stitch the sleeves to the sleeve linings.
 Gather the upper jacket fronts to fit the upper jacket front lining.
 Underarm and side seams
 Stitch the bottom of the jacket and turn jacket right-side out.
 Stitch the bias binding to the neckline.

 Stitch back opening closed.
 Fold the bias binding down.
 Stitch the bias binding to the jacket lining only.
 Buttons and hooks.
Hat View A
 Stitch the hat veil together.
 Stitch the hat veil to the hat along markings.
 Gather and stitch the tulle trim to the center of the front of the hat.
 Stitch the tulle trim to the hat and cover the stitching with beads.
Hat View B
Coming Soon!
Shoulder seams
Hat View A
Hat View B
Coming Soon!