
This dress was inspired by an illustration in a fashion history book.

Picture by John Peacock

For more information and photos about this outfit, click here.

Dress

Upper bodice shoulder seams

Upper bodice lining shoulder seams

Stitch the upper bodice to the lining at the neckline.

Under-stitch the lining.

Press the neckline flat.

Armholes and back opening.

Turn the upper bodice right side out and press flat.

Gather stitch the bottoms of the upper bodice in one stitch.

Baste underlining to the lower bodice pieces, or fuse interfacing to the lower bodice pieces.

Lower bodice side seams

Lower bodice lining side pieces. ***Not pictured, mark the bottom of the lining by stitching a 1/8" seam allowance. The lower bodice lining needs to be longer than the lower bodice, to prevent the lower bodice from bunching up. More information about this further down. Press the seam allowance up.

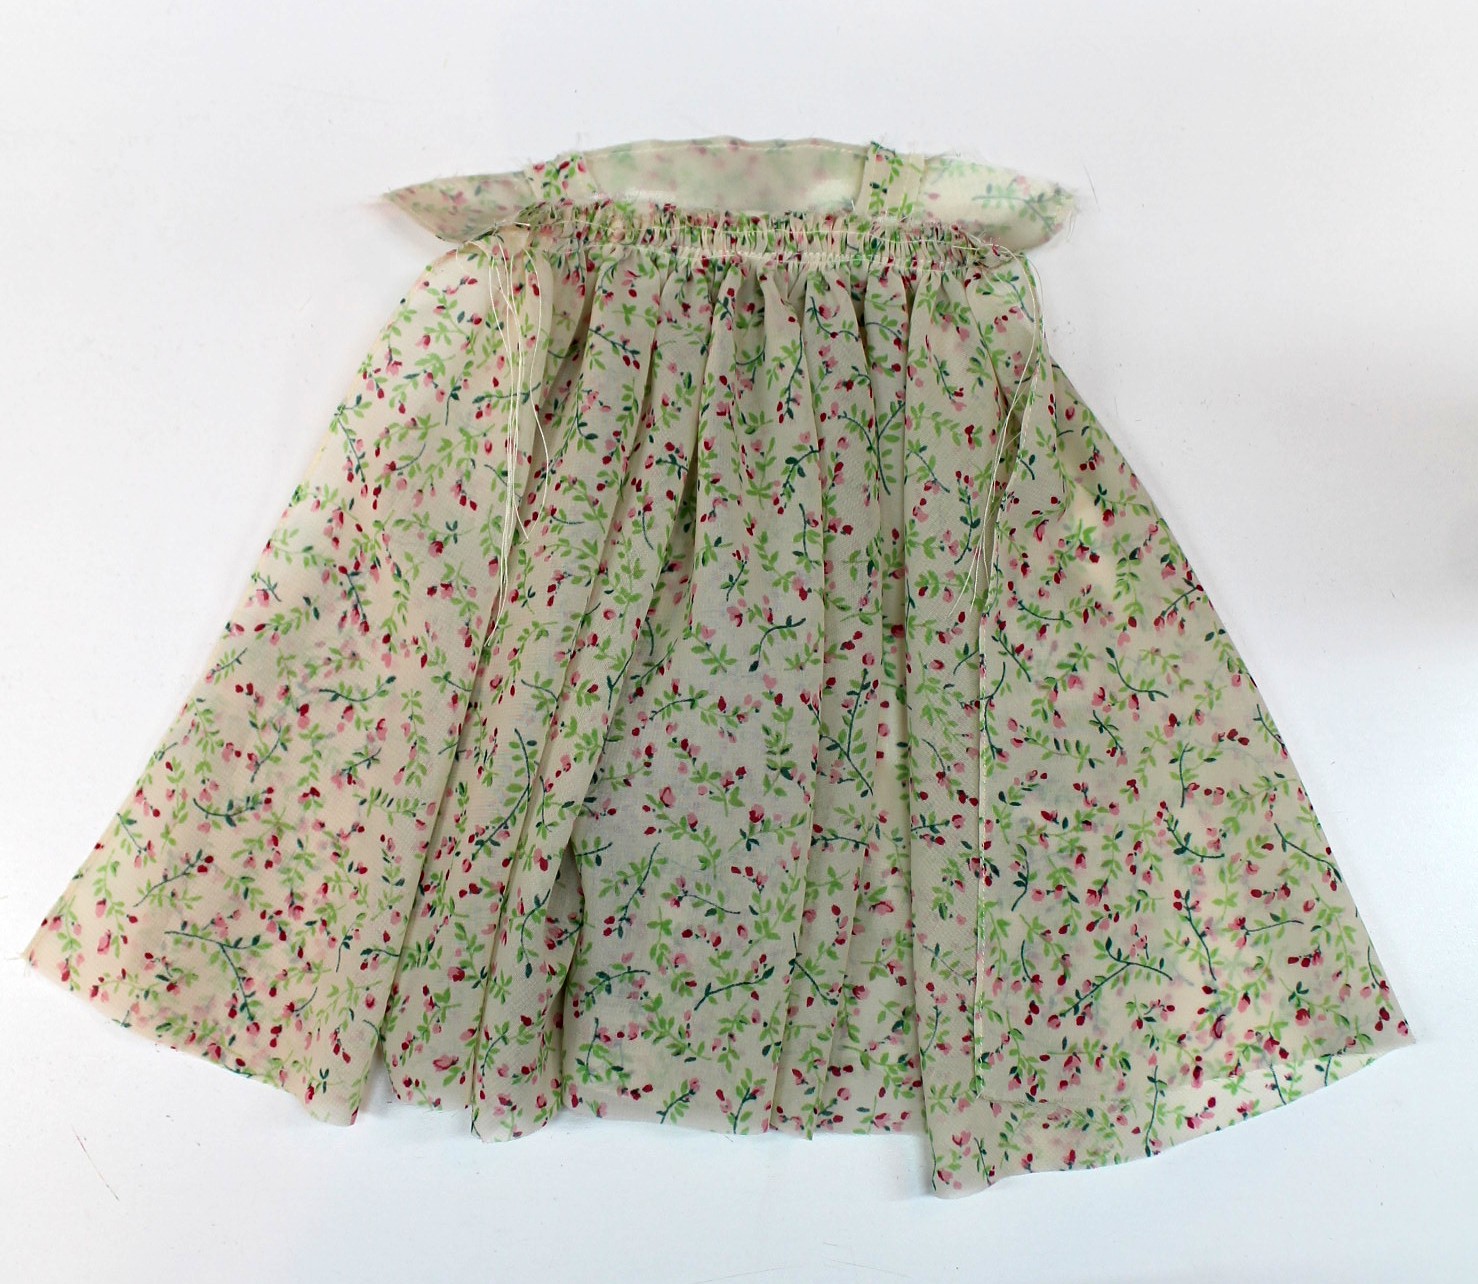
Finish the back to the skirt with narrow hems and gather stitch the top of the skirt.

Hem the back of the underskirt and stay-stitch the top.
Stitch the skirt to the lower bodice. **** For best results use a 3/8" seam here. The lower bodice lining tends to make the lower bodice bunch up if it is the same size as the lower bodice.

Stitch the upper bodice to the lower bodice with a 1/4" seam allowance.


Stitch the lower bodice to the upper bodice lining.

Picture of the lower bodice lining with the bottom pressed up.


Stitch the underskirt back seam.

Skirt back seam

Hand stitch the lining at the back openings and waist. Note how I stitched it above the waistline stitching to help keep the lower bodice smooth.

Mark the hems.

Snaps
Hat
These pictures were borrowed from another pattern.

Fuse the wonder-under to the lining, and the interfacing to the hat top and crown pieces.

Hand gather around the hat top.

Pull the thread tight and knot.

Cut out the lining piece, pull off the paper backing and fuse the lining to the hat top.

Fuse a narrow strip of wonder-under to the bottom of the hat crown.

Press the sides up, remove the wonder-under paper and fuse the hat crown.

Fold up one end of the hat crown and stitch. Hand stitch the hat crown around the hat top.


When you are close to the back of the hat, fold up the other end of the hat crown to fit, stitch the end with another needle and thread.

Stitch the ends together.

Fray Check the ends of the ribbon flowers.

Hand stitch the ends of the ribbon flowers with a very narrow seam.


Press the seams on the ribbon flowers open.

Turn the ribbon flowers right side out.

Hand gather the top of the ribbon flower.

Knot the ends of the short ribbons, trim off the end of the knots, and Fray Check the knots.

Hand gather the top of the ribbon flower around the knot.

Pull the ribbon flower down to the knot and make a couple of stitches through the flower and the ribbon above the knot. Knot the tread, and Fray Check the thread knot.

Tie a small bow in the long ribbon, leaving the ends long.

Mark the center of the top of the hat.


Pin the flower ends to the left side of the hat and adjust the length of the ribbons.

Fold the ends of the ribbons towards the left side of the hat.

Tack the bow on top of the other ribbons. Mark the placement of the other flowers. The best way to mark the knot is to place a pin where you want the knot to be.

and tie the knot right above the pin. Attach the other flowers.

Mark the knots of the last two ribbon flowers.

After all the flowers are finished, tack the ribbons to the side of the hat.