These chic ruched sheaths were inspired by two different fashions from the 1950’s.

View A


Mark the underlining back darts.

Baste the georgette back pieces to the underlining back pieces.

Stitch the back darts.

The right side of the back pieces.

Gather stitch the georgette right front between the markings.

Gather stitch the georgette left front pieces between the markings.
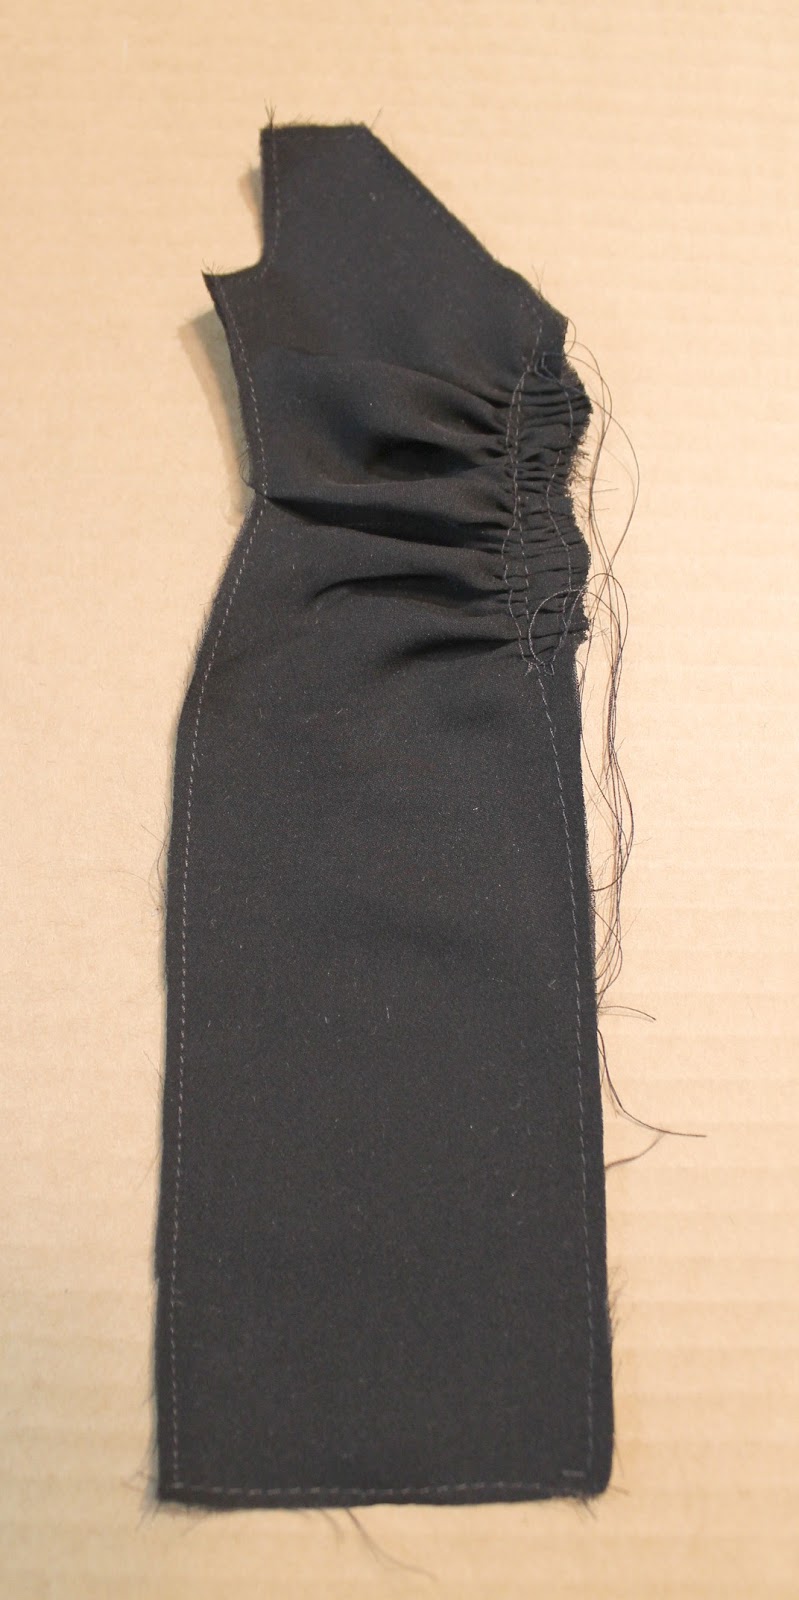

The georgette will hang over the edge of the underlining piece.

Cut the extra fabric off.

Repeat the last three steps for the left front.

Stitch the shoulder seams.

Stitch the sleeve lining to the bottom of the sleeve.

Understitch the lining.

Press the bottom of the sleeves and baste the lining to the sleeves.

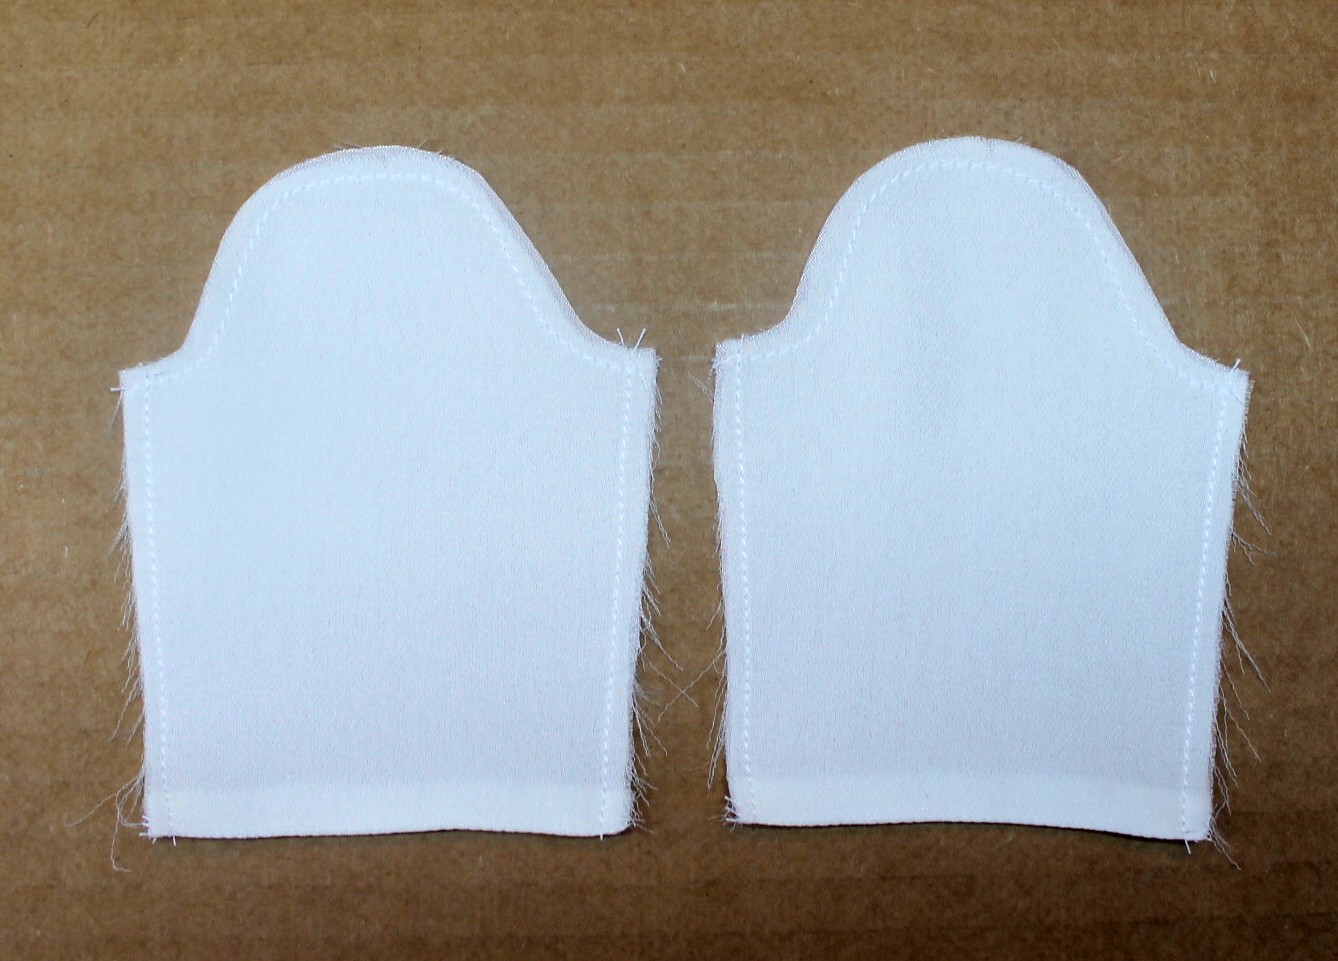
Ease stitch the top of the sleeves.

Fit the sleeves to the armholes and stitch the sleeves to the armholes.

Mark the lining darts and stitch all the darts except for the left front dart.


Stitch the linings to the sheaths at the necklines. Clip the curves and understitch the lining.
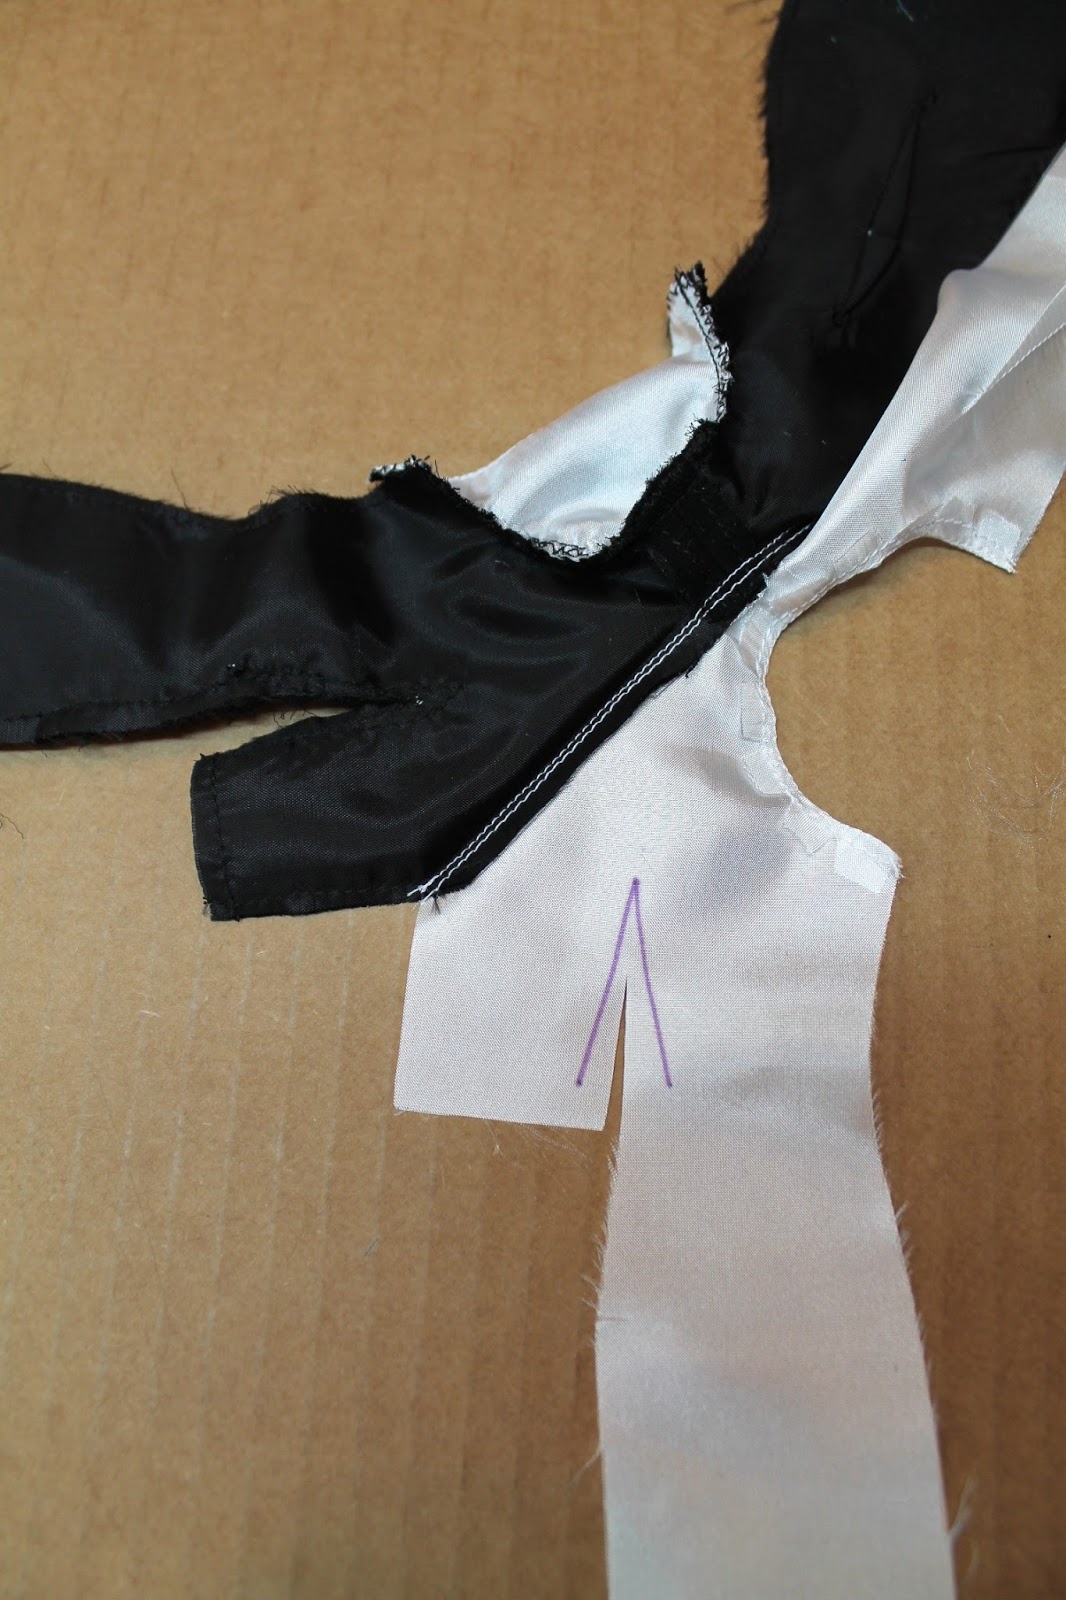
Cut open the left front lining dart about 3/4".

Stitch the left front flap to the lining.
Press up the seam allowance on the left front flap.

Turn the left side of the dress right side out and press the neckline and the flap flat.

Turn the right side of the dress right side out and press the neckline flat. Baste the lining to the dress from the neckline to the marking.

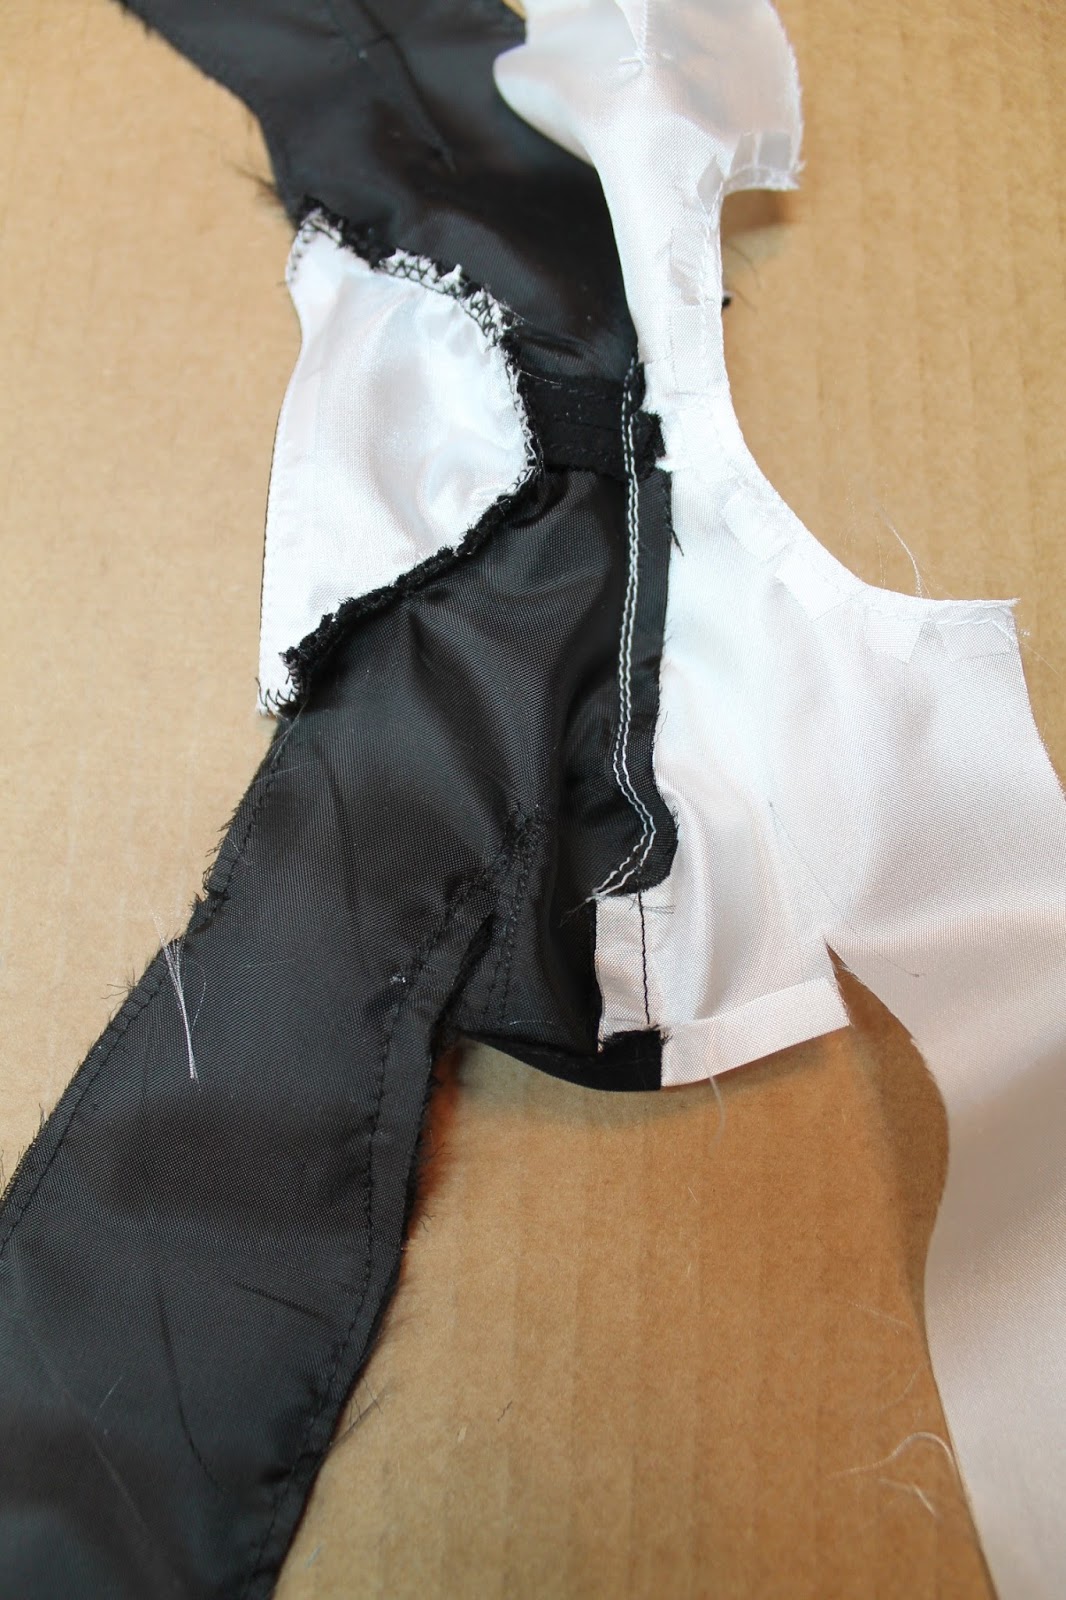
Tuck the right front into the left dart opening and match up the stitching lines on the dart and the right front. Stitch from the marking to the dart point.

Clip the lining at the marking.

Move the lining out of the way and stitch the rest of the right/left front seam.

Press the right/left front seam open.

Steam the gathered part of the seam open.

Stitch the side seams.

The dress is shaping up!

Stitch the right/left front lining seam and the lining side seams.

Press the lining seams open.

Mark and cut 1" off the bottom of the lining. Stitch the lining to the bottom of the dress and understitch the lining.

Stitch the center back seam.

Press the seam open.


Pin and hand stitch the lining to the back opening.


Hand stitch the left front flap to the dress.

Close up

Tack the lining shoulder seam to the sleeve seam.

Tack the underarm seams down.

Snaps

Bows

Fray check the ends of the bows and let them dry.

Sew the bows to the front of the dress.
View A Hat

I have included two different ways to make this hat.
Hat #1

This hat covers the dolls entire head.
 Cut apart as many chiffon flowers as you need to cover the dolls head.


Pin the flowers onto the doll's head until you get the desired look.

Hand stitch the flowers together where they touch.

Hat #2

This hat is has the look of the original hat without covering the dolls entire head.
 Cut, Fray-check, and trim 7 chiffon flowers.

 Stitch 2 flowers on both sides of the hat.
 Stitch the sides of the hat. Don't make the hat too tight.


Hat #2 on IT's "Star Entrance"


View B Dress
 Right front lining and underlining darts
 Back lining darts
 Baste the georgette back pieces to the back underlining pieces.

 Back darts
 Gather stitch the front georgette pieces.
 Gather and baste the georgette front pieces to the front underlining pieces.

 The georgette will be a little bit too big for the underlining.
 Cut off the extra georgette.

 Remove the gather stitches.

 Shoulder seams
 Lining shoulder seams
 Stitch around the lining armholes to mark the seam allowance. Clip the seam allowance.
 Hem the armholes.
 Stitch the sleeves to the sleeve lining, clip the curves.
 Under-stitch the lining.
 Press the bottom of the sleeve and baste the sleeves to the lining.
 Zig-zag or serge the sides of the sleeves.
 Gather stitch the tops of the sleeves. Ease the sleeves to fit the armholes.
 Stitch the sleeves to the armholes.
 Stitch the lining to the necklines, clip the curves and under-stitch the lining.
 Stitch the fronts together.

 Stitch the side seams.

 Mark and cut 1" off the bottom of the lining.
 Stitch the lining to the bottom of the dress.
 Under-stitch the lining.
 Bow
Bow
 Stitch the bow to the front of the dress.
View B Hat
 Fuse the wonder-under to the lining, and the interfacing to the hat top and crown pieces.
 Hand gather around the hat top.
 Pull the thread tight and knot.
 Cut out the lining piece, pull off the paper backing and fuse the lining to the hat top.
 Fuse a narrow strip of wonder-under to the bottom of the hat crown.
 Press the sides up, remove the wonder-under paper and fuse the hat crown.
 Fold up one end of the hat crown and stitch. Hand stitch the hat crown around the hat top.


 Stitch the ends together.
 Hat and tulle trim
 Bunch up one end of the tulle and hand tack it close to the back seam.

 Hand tack the tulle at the front of the hat (make sure the stitches don't show)
View A Hat

I have included two different ways to make this hat.
Hat #1

This hat covers the dolls entire head.


Trim off the extra netting and Fray-check the cut ends. After the Fray-check is dry, trim the cut ends close to the flower.

Pin the flowers onto the doll's head until you get the desired look.

Hand stitch the flowers together where they touch.

Leave two of the bottom flowers unstitched at the back of the head to make it easier putting the hat on and off.
Hat #2

This hat is has the look of the original hat without covering the dolls entire head.


On the wrong side of the flowers, hand stitch two flowers to the center flower directly across from each other.


Hat #2 on IT's "Star Entrance"


View B Dress


View B Hat
Some of these pictures were borrowed from another pattern.


When you are close to the back of the hat, fold up the other end of the hat crown to fit, stitch the end with another needle and thread.


Twist the tulle a little bit and wrap it around the hat. Stitch the other end to the back of the hat and trim off the extra tulle.
