This
four-piece cocktail ensemble was inspired by a 1953 Modes Royale design.

The pieces can be mixed and matched to make four different outfits. For more information about this design click here. Click on any photo to make it larger.

Redingote

Side back seams, front necklines, and half of the front bodice bottom stitched.

Pleat the front edge of the front bodice and stitch it to the opposite side, repeat this step for the other side.

Side seams stitched.

Top of bodice straps and underarms stitched, pressed and turned right side out.

This is what the skirt pattern should look like, cut out two skirts.

Back opening marking.

Stitch the center back seams and press seams and back openings open.

Fold the skirt in half, matching the back seams and stitch the bottom of the skirt.

Press the seam open.

Hand stitch the back opening closed.

Press the skirt flat.

Stay stitch the top of the skirt.

Stitch the skirt to the bodice. Make sure the opening in the front of the dress is even.

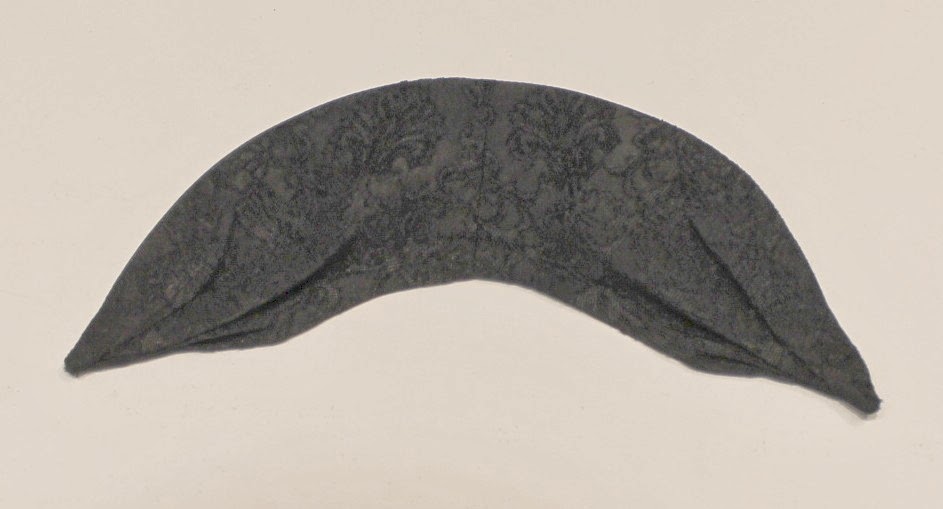
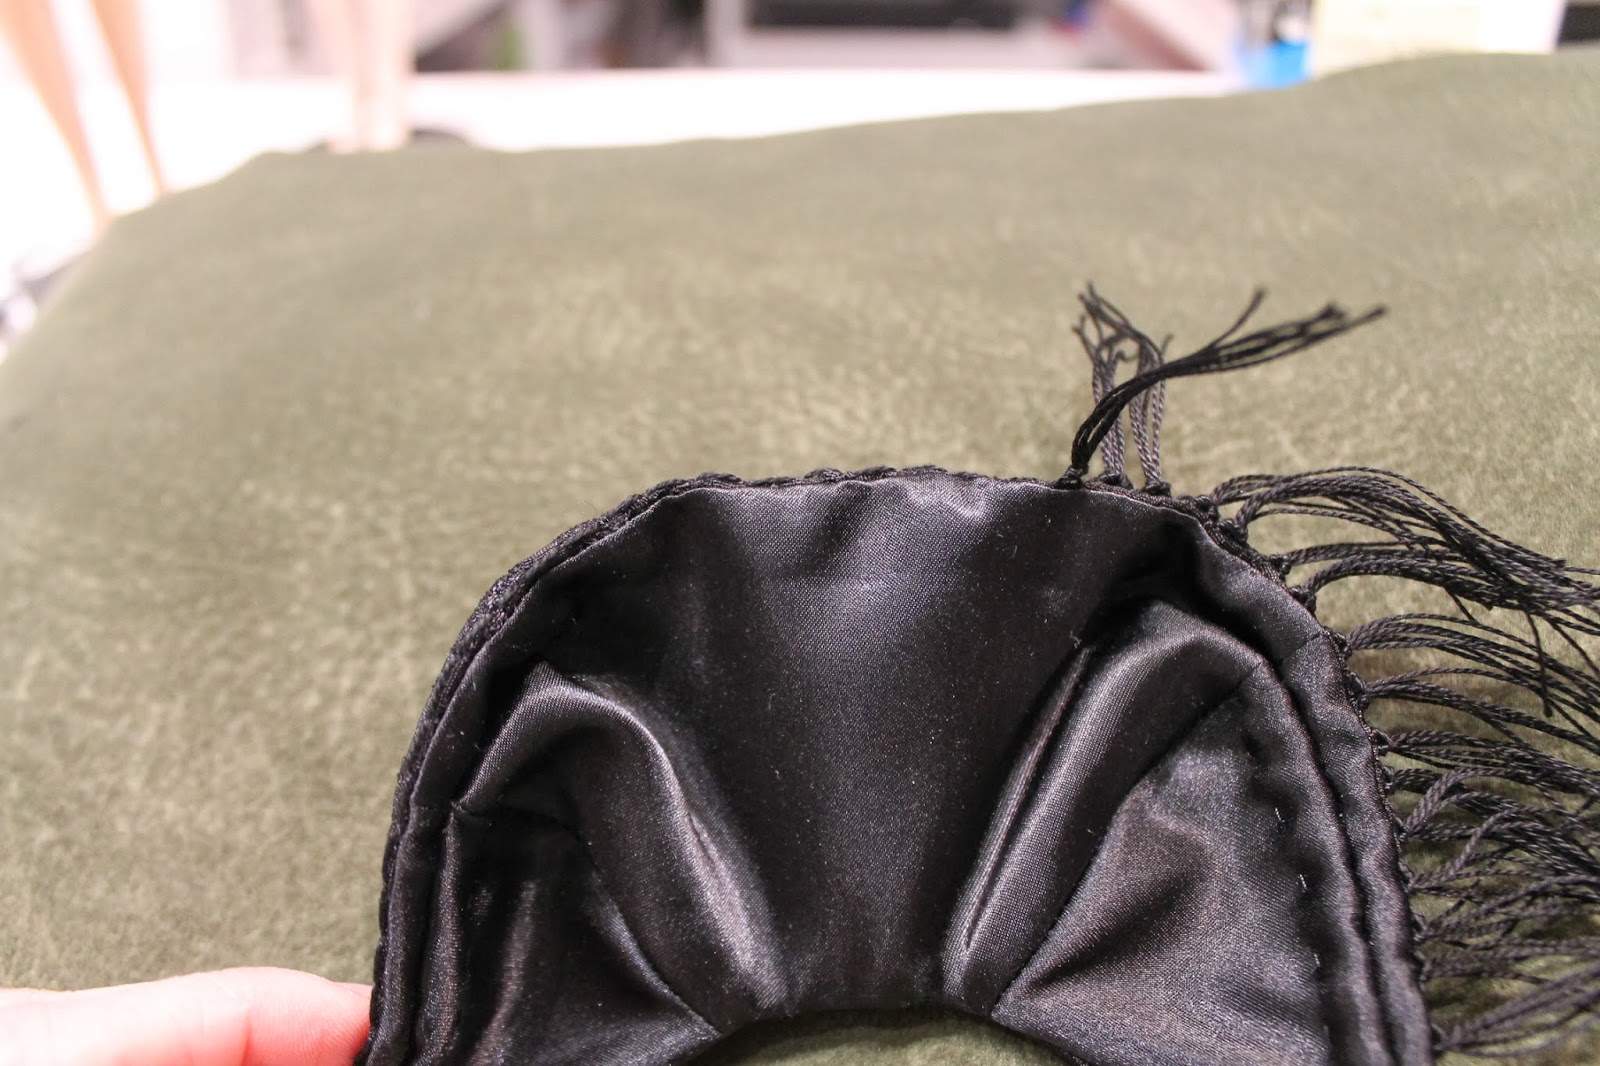
Fold the straps along the fold lines and hand stitch the pleats.

Hand sew the back opening and waistline closed. Sew a hook and thread loop to the straps.

Sew hooks and thread loops to the back of the redingote.


Lace Sheath

Baste the lace to the underlining.

Darts

Stitch the sleeves to the bodice pieces.

Skirt side seams

Lining- cut 1/4" off the bottom of the sleeves.

Stitch the lining to the bodice at the neckline, under-stitch the lining.

Stitch the underarm seams.

Press the underarm seams open.

Turn the bodice right side out.

Stitch the bodice to the skirt.

Cut 1" off the bottom of the skirt lining to make the hem of the sheath. Stitch the lining to the bottom of the sheath. Under-stitch the lining. Stitch the center back seam and press seam open. Baste the skirt lining to the sheath at the waist.


Inside view of the sheath

I clipped the straight edge off the lace trim.

Hand stitch the lace trim to the neckline.

Snaps
Straight Skirt

Darts

Side seams, repeat these steps for lining. Cut 1 1/8" (or whatever measurement you want) off the bottom of the skirt lining. Stitch the skirt lining to the bottom of the skirt. Under-stitch the lining.


Hem
Sash

Stitch around the sash drape, leave opening for turning.

Hand stitch opening closed.

Press the long edges of the sash. Fold the sash in half and stitch ends. Trim the corners and press the seam allowances open. Turn sash right side out and press flat.

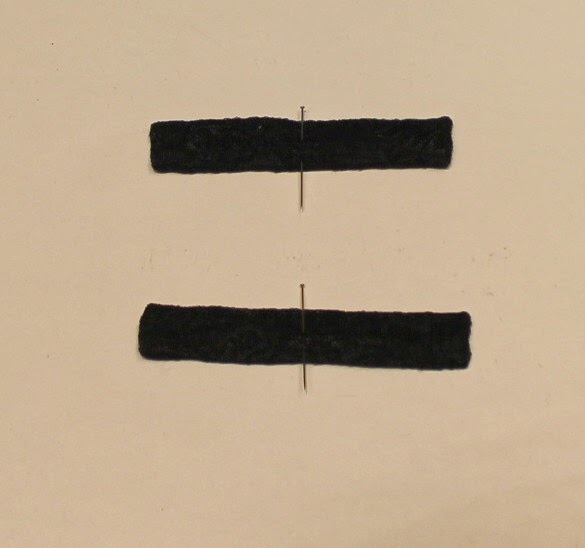
Mark the center and 1/4" in on each end of the bow. Fray check the ends.

Fold the bow on the fold lines and match the center with the markings on the ends. Stitch the top and bottom of the bow. Trim the corners and press the seams open.

Turn the bow right side out and press flat. Press the bow knot.

Pressing the sash drape.


Tack the top of the sash drape.

Hand gather the bow.


Wrap the knot around the bow and stitch.

Tack the sash drape to the sash at the markings. Hand stitch the bottom of the sash closed.

Pressing the sash.