This pattern is sized to fit the 16" Gene and Tonner dolls
This pattern was inspired by the 1955 film "The 7-Year Itch"
For more information about this style, click here.
View A
Mark and stitch all of the dress and lining darts.
Press the darts toward the center fronts and center backs.
Finish the long edges of the skirt drapes with narrow hems.
Pin
the skirt drapes to the sides of the dress front between the markings and
baste.
With right sides together (WRST) stitch the dress and lining
side seams. Clip the curves and press
the side seams open.
Cut 1/4" off the bottom of the dress lining. WRST, stitch the dress to the lining at the bottom
and under-stitch the lining. The shorter
lining will create the dress’ hem.
With wrong sides together, pin and baste the dress
to the lining at the center backs.
Baste the top of the dress to the lining with a 3/16” seam allowance. Clip a notch out of the point at the center front of the dress and Fray-Check the notch.
WRST,
pin and stitch the straps to of the top of the dress. The seam allowance should be slightly
narrower than 1/4". Stop stitching the
straps exactly at the center point of the front of the dress. Make sure the straps do not get stitched to
each other.

Press
the straps up, and the long edge of the straps down. Challis and crepe fabric are stretchy, so
make sure the width of the straps stay consistent.
Press the straps in half, and hand stitch.
Serge or zig-zag the back edges of the dress. Do not cut the serger threads close to the dress yet. Fray-Check the serger threads and after the Fray-Check is dry, cut the serger thread close to the dress.
WRST, stitch the back seam from the bottom of the dress to the marking.

Press the back seam open.
Hand stitch the back opening.
Sew snaps to the back of the dress to fit the doll.
Put the dress on the doll and cross the straps in the
front. Pin the straps in place at the
center front and hand stitch the straps together.
Pin the straps to fit the doll at the backs and hand stitch the straps to the back of the dress.
Cut 1” off the bottom of the left skirt drape.
Finish the ends with narrow hand-stitched hems.
To make the dress fit better, hand stitch from the center front of the dress along the inside of the top edge.
(I used black thread in this photo only to show the stitching detail)
Leave the end of the thread free and repeat for the other side.
Put the dress on the doll and pull the thread ends until the dress fits the doll. Knot off the thread ends.
Tie the skirt drape in the front and steam press the drape.
View B
View B is the same dress as View A without the skirt drape.
View C
Cut the bodice and straps out of one end of the 1/4 yard of dress
fabric. The rest of the fabric will be
the skirt, so squish the pattern pieces as close to each other as
possible. I ended up having about 30”
left for the skirt.
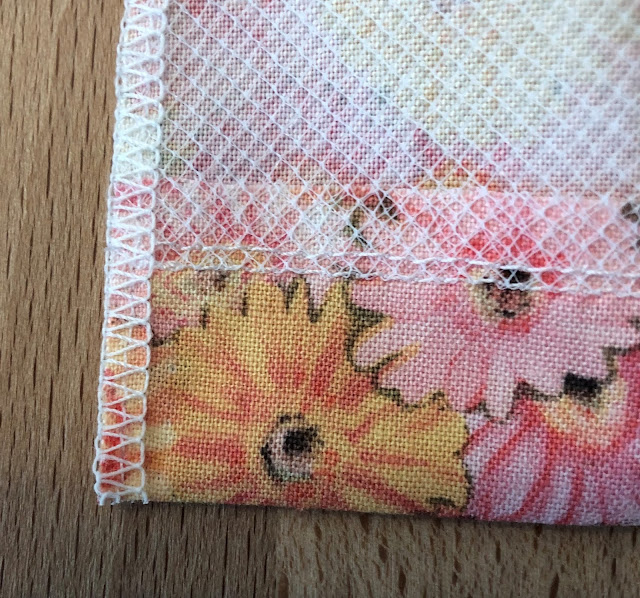
Cut the skirt 8 1/2" long. The tulle underlining is 8" X the same width of the skirt. Stitch the tulle to the bottom of the skirt and under-stitch the seam.
With wrong sides together, pin the top of the tulle to the top of the skirt. The shorter tulle will “hem” the skirt. Stitch the top of the skirt with the longest gathering stitch length and press the skirt flat.
Front darts
Side seams
Baste the top of the dress to the lining with a 3/16” seam allowance. Clip a notch out of the point at the center front of the dress and Fray-Check the notch.
WRST, pin and stitch the straps to of the top of the dress. The seam allowance should be slightly narrower than 1/4". Stop stitching the straps exactly at the center point of the front of the dress. Make sure the straps do not get stitched to each other.
Press the straps up, and the long edge of the straps down.
Press the straps in half, and hand stitch.
Gather and pin the skirt to the bodice at the waist and stitch. Serge or zig-zag the waist seam and the back
of the dress.
Fray-Check the serger threads and trim when dry.
WRST, stitch the back seam from the skirt bottom to 2” below the waistline. Press the back seam open.
Hand stitch the straps at the center front of the bodice.
Snaps and back straps
Follow the steps in View A to fit the bodice to the doll.


No comments:
Post a Comment