This suit was inspired by a paper doll outfit and a 1954 Jaques Fath design. Pattern includes the instructions for the suit, collar, fur collar, hat, and cuffs, muff, turban, and belt.

For more information about this suit click here.
Click on any photo to make it larger.
Jacket


Lining

Cut 1/8" off the bottom of the sleeve linings.


Underarm seams.

Marking the jacket hem.

Pressing the hem facing seam.


Hand stitch the hem.


Hand stitch the lining to the jacket.

Fold the extra lining by the front facing....

and stitch.


Press the sleeve hems.

Stitch the thread loops for the fur cuff hooks.

Tack the jacket to the facing at the shoulders.

The bottom front corners stretched out a little on this jacket. I suggest making a slightly deeper seem here to reduce the stretch.
Skirt

Darts

Side seams

Cut 3/4" off the bottom of the skirt lining.
For more photos of the skirt construction, click here.
Velour Trimmed Collar

Neckline

Under-stitch the lining at the neckline.


Ease the trim to fit the collar without puckering or stretching.

Trim pinned to the collar.

Trim folded under and hand stitched to the wrong side of the collar.

Hook and thread loop
Fur Collar and Cuffs

Pin the linings to the fur pieces. Use lots of pins!

Hand stitch the openings closed.

Mark the middle of the cuff ends with pins.

Sew the hooks slightly off center on both ends.

Like this

Hooks sharing the loop on the sleeve.
Sew a hook and thread loop to the collar.
Fur Hat

Fur is trimmed a little from the edge of the hat.

Mark 1/2" in from the edge.


Pull the stitching to gather up the hat a little to fit the doll's head.

This hat could be lined, but I think it is fine without the lining.
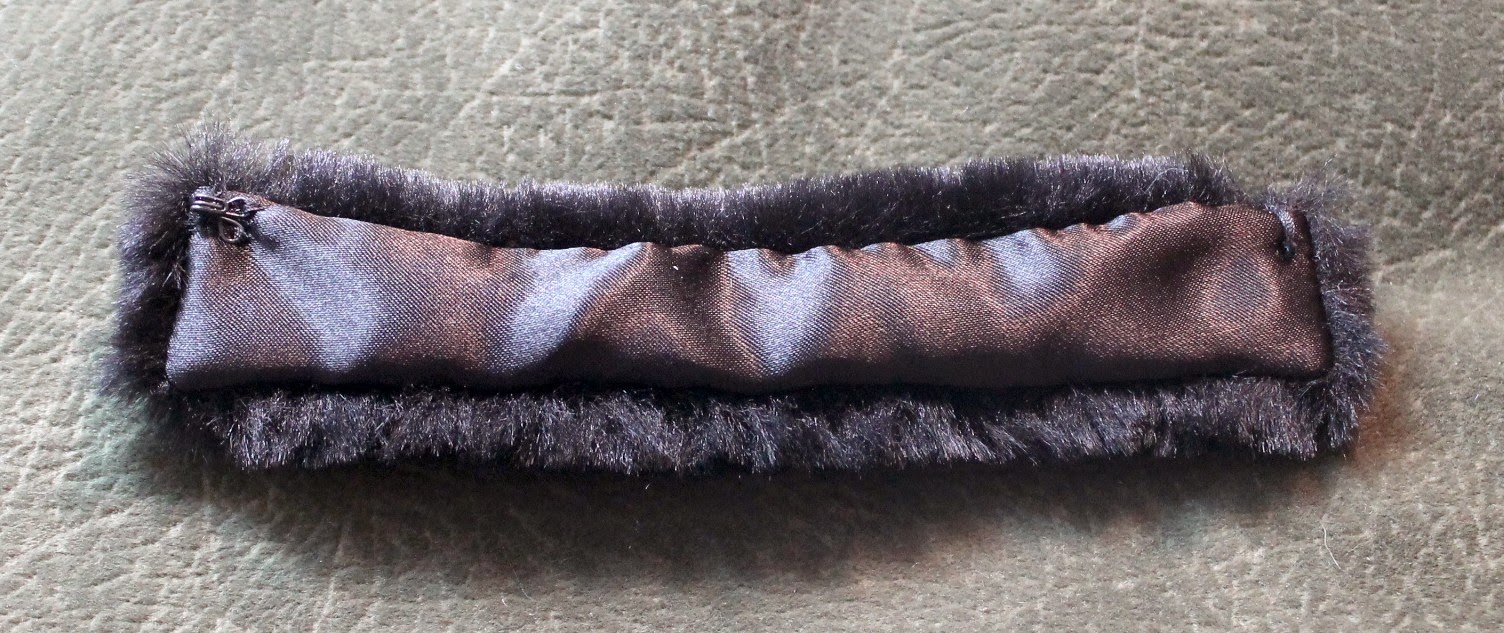
Muff

Fur is trimmed from the edges, and the lining ends are pressed 3/8".

Pull the fur out of the stitches.

Stitch the ends of the muff together. Make sure to keep the lining free.

Trim out the fur in the seam allowance, and clip the ends diagonally.

Slip stitch the lining together and turn the muff right side out.
Belt

Belt top stitched

Belt end
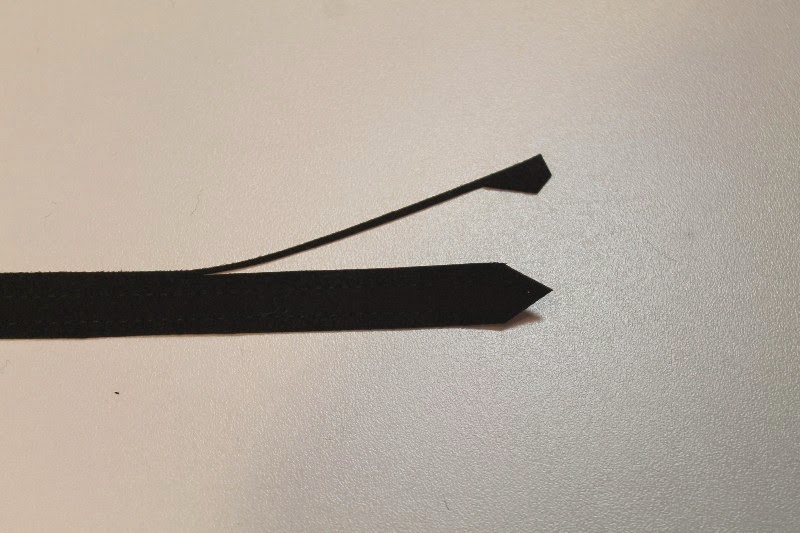
Trim belt.

Sew buckle to the belt.

My genius way to paint and dry the belt buckles.
No comments:
Post a Comment