This dress was inspired by a 1945 Molyneux design from the Theatre de la Mode collection.
For more information and photos about this outfit, click here.
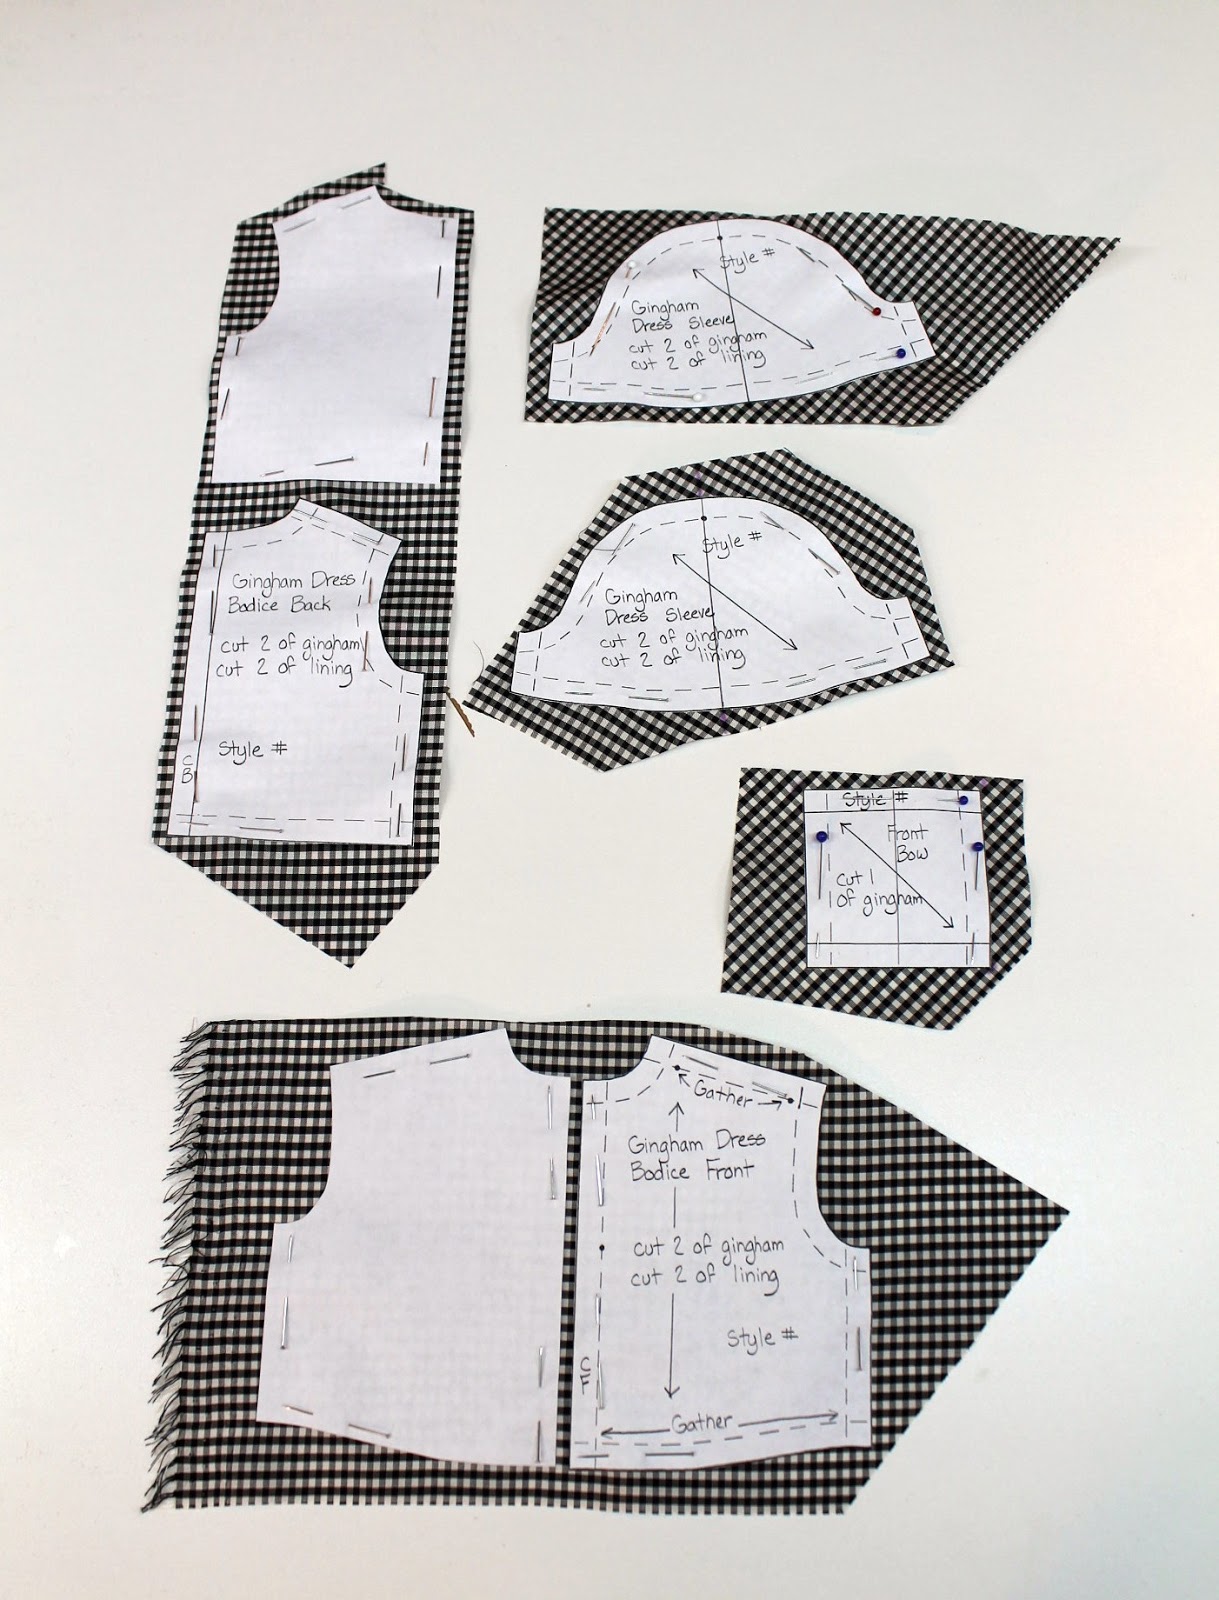
Dress
Cut out each piece individually, to make sure the pattern pieces are right on the gingham lines.
Stitch the front bodice together by hand.
Front bodice lining
Press the center front seams open.
Lining
Gather front shoulders.
Stitch the shoulders.
Make tucks in the front shoulders instead of gathers to reduce bulk.
Stitch the neckline to the lining.
Under stitch the lining.
Press the neckline.
Mark the hems of the lining armholes.
Hem the lining armholes, trim the seam allowance (not pictured).
Stitch the lining to the sleeves at the bottom.
Under stitch the lining
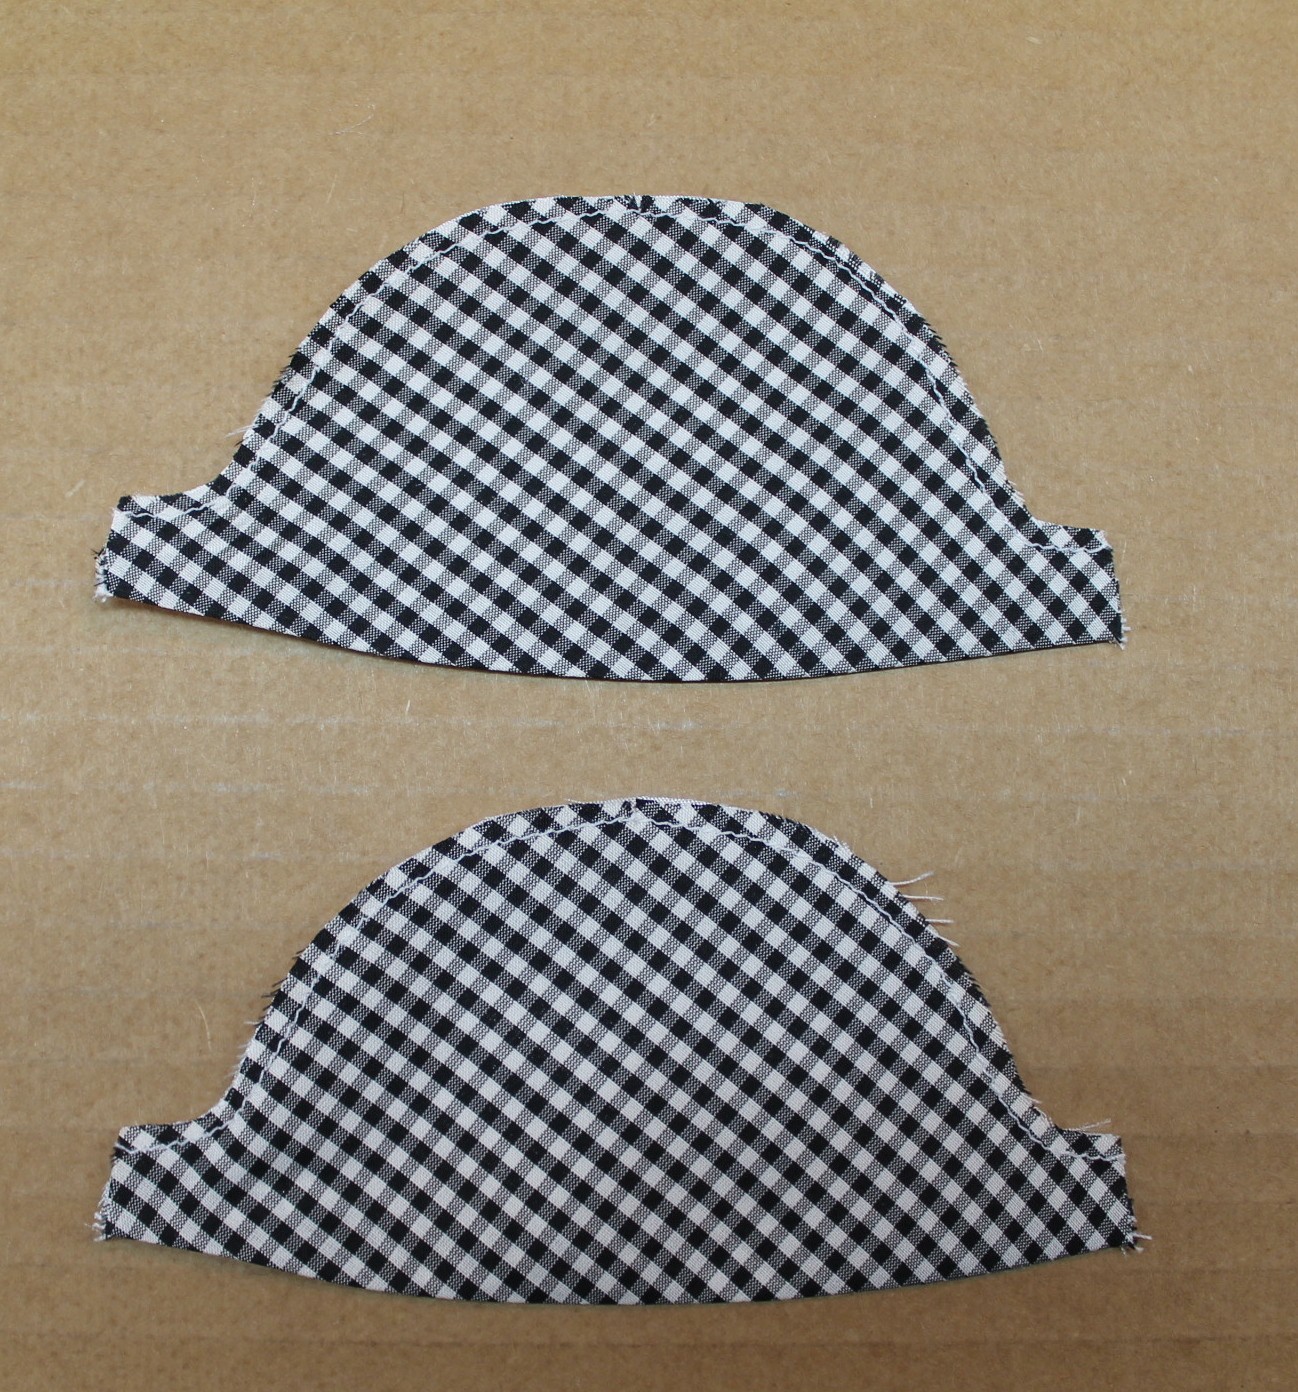
Baste the top of the sleeves.
Gather stitch the tops of the sleeves.
Stitch the sleeves to the bodice, serge or zig-zag the seams.
Side seams
Stitch the bodice back to the lining.
Gather stitch the bottom of the bodice.
Press up the ends of the waist band and press the waistband in half.
Baste the waistband closed and mark the center front and side seams.
Pin the bodice to the waistband. I placed the pins pointing down so that I could remove them easily while sewing.
Stitch the waistband to the bodice with the waistband facing up.
Stitch right on the gingham line.
Gather stitch the top of the skirt.
Stitch the skirt to the bodice.
Skirt lining is optional.
Stitch skirt back seam.
Hand stitch front opening to the lining.
Stitch the lining armhole around the sleeve seam.
Snaps
Press up sides of bow.
Stitch the ends and clip the corners.
Turn the bow right side out and press it flat. Mark the center of the bow and hand gather.
Pull the thread tight and knot. Press the knot.
Stitch the knot around the bow.
Tack the bow to the front of the bodice.
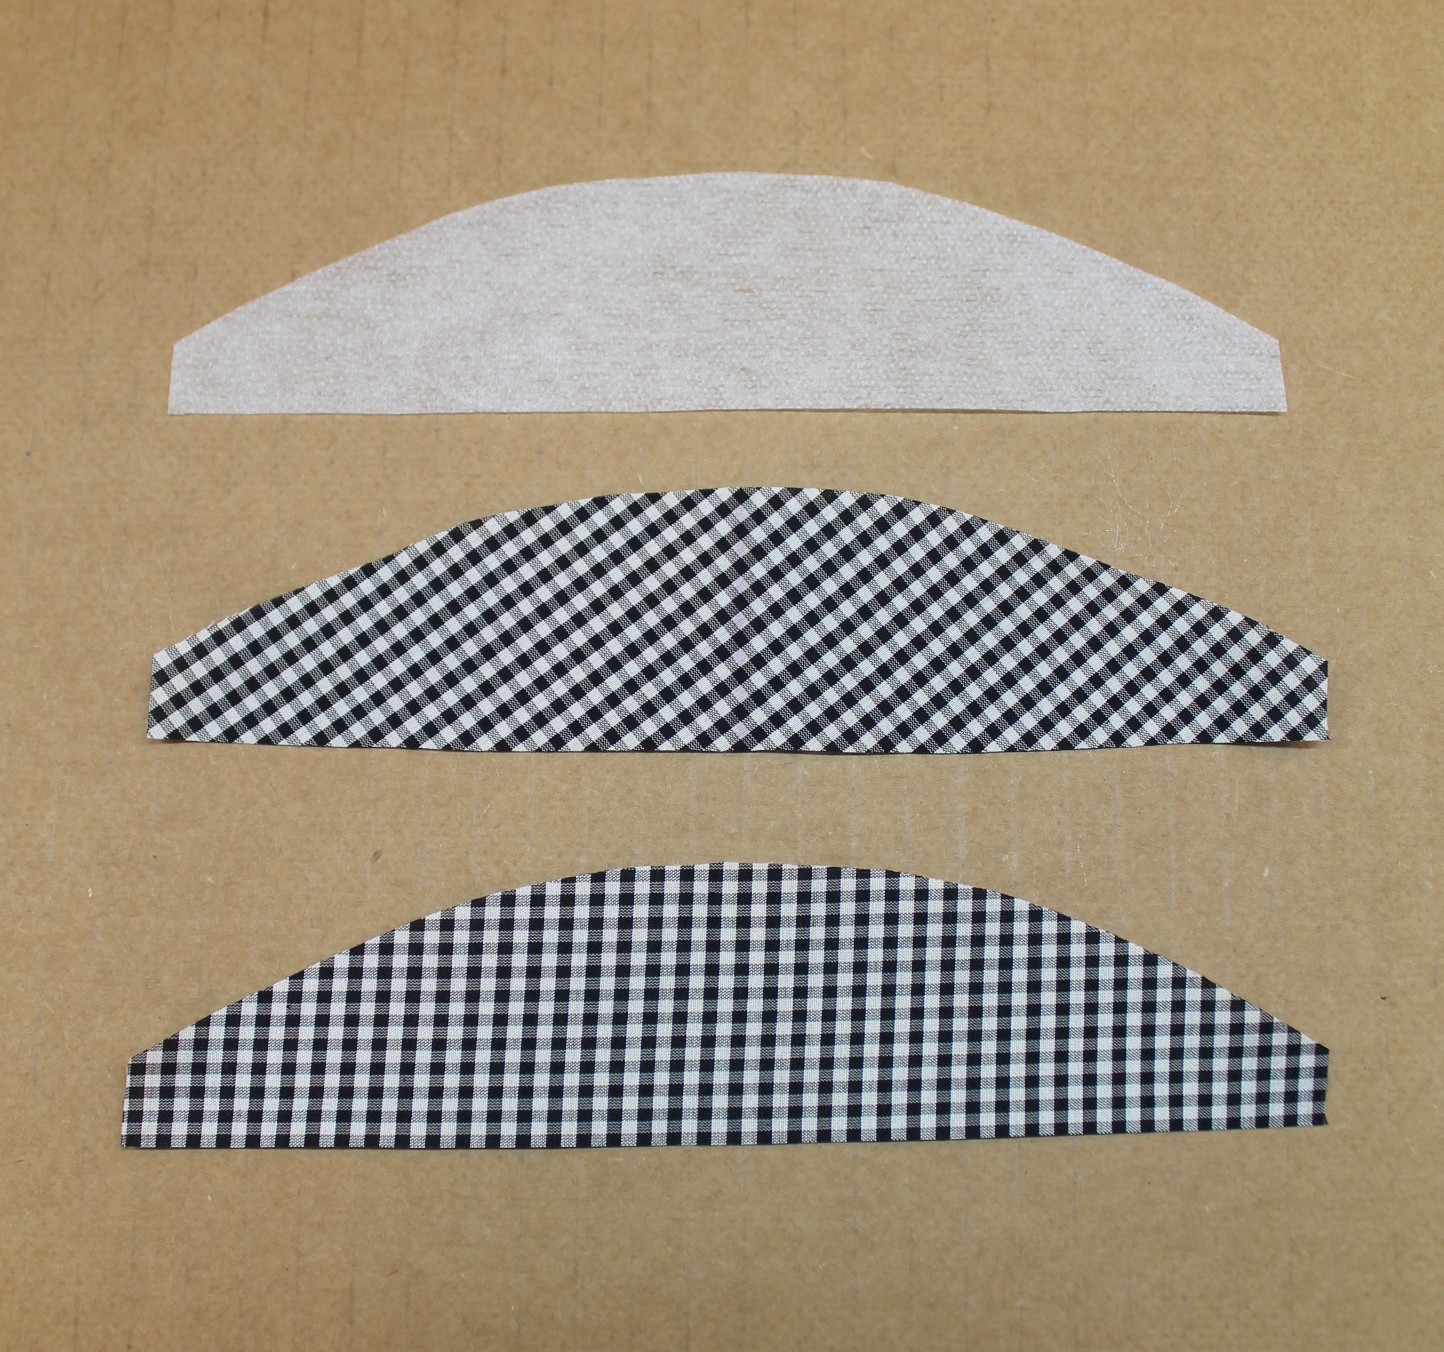
Belt interfacing, diagonally cut belt, and belt lining.
Fuse the interfacing to the belt.
Stitch the belt to the lining, leave an opening for turning. Trim the seam allowance.
Turn the belt right side out.
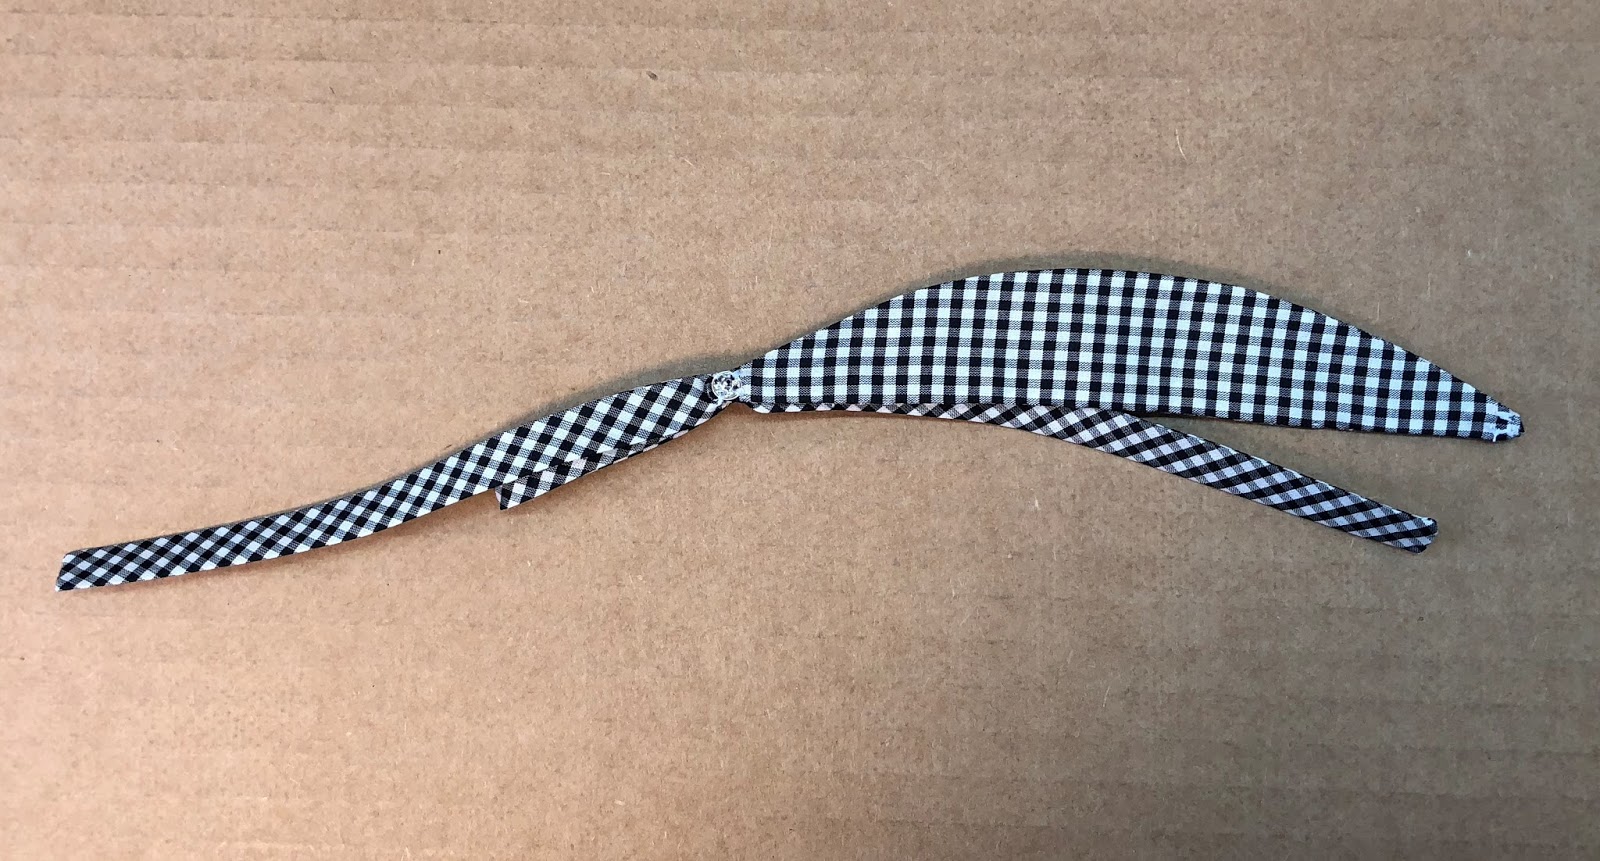
Stitch the belt bow, leave an opening for turning. Clip the corners.
Turn the bow right side out and press. Hand stitch the bow closed.
Mark up 5" on both ends of the belt. Hand stitch the bow together at the markings (not pictured)
Mark the center of the bow and place it on top of the stitches.
Hand gather the center of the bow.
Pull the thread tight and knot.
Tack the bow to the belt.
Snaps.
Hat
How I made the straw hat block.
Yogurt container
Racket ball
Mark a 2" circle exactly in the middle of the lid.
Cut out the circle.
Fill the container with wash clothes to support the ball.
Place the ball in the center of the wash clothes.
Put the lid on the container.
My hat block.
Cover the lid and ball with double sided tape.
Gather up one side of the hat straw by pulling the thread.
Gather the hat straw a lot.
Starting on the outside, press the hat straw along the edge of the lid.
Glue the hat straw around the lid until it reaches the ball.
Make the top of the hat.
Fray Check the end and glue it down when it is dry.
Press the brim flat between fabric. Steaming the hat top helps remove any excess glue.
Glue the hat top to the brim.
Hat lining and interfacing.
Mark the hole in the hat lining.
Cut out the hole and stitch around the seam allowance. Clip the curve.
Press up the seam allowance.
Glue the lining around the bottom of the hat brim. Make sure the lining is at least 1/8" smaller than the brim.
Cut the bias cut hat lining and ribbon apart along the cutting line.
Press the edges up and press a curve into one side of the lining.
Glue the lining inside the hat top.
Turn under the end, and glue it down.
Glue the braid trim around the underside edge of the brim.
Cut the trim and Fray Check the ends.
Glue the ends down after the Fray Check has dried.
Press the ribbon into thirds lengthwise.
Glue the ribbon around the hat.
Press up the edges of the bow.
Stitch the ends and trim the corners.
Hand gather the center of the bow.
Pull the thread tight and knot. Press the knot.
Stitch the knot around the bow.
Glue the bow to the back of the hat.


No comments:
Post a Comment