I hate hand stitching. It has taken me years, and years, but I finally figured out how to construct the skirt without any hand work, except for the snap of course. You're welcome.

Mark and stitch the darts. Press the darts toward the center front and center backs.

Stitch the skirt side seams. Stitch a 3/8" seam to fit Gene, and a 1/4" seam to fit the Tonner/Tyler dolls. Press the seams open.

Lining darts, press the darts away from the center front and backs. This helps reduce the bulk in the waistline.

Stitch the side seams, make the seam allowances smaller than the skirt's, or the lining will be smaller than the skirt. Mark and cut off 1/2" to 1" off the bottom of the skirt lining. This makes the skirt hem.

Stitch the lining to the skirt ant the top and bottom.

Under-stitch both seams.

Fold the top seam over a little on the lining. Stitch the lining to the skirt from the waist to the markings.
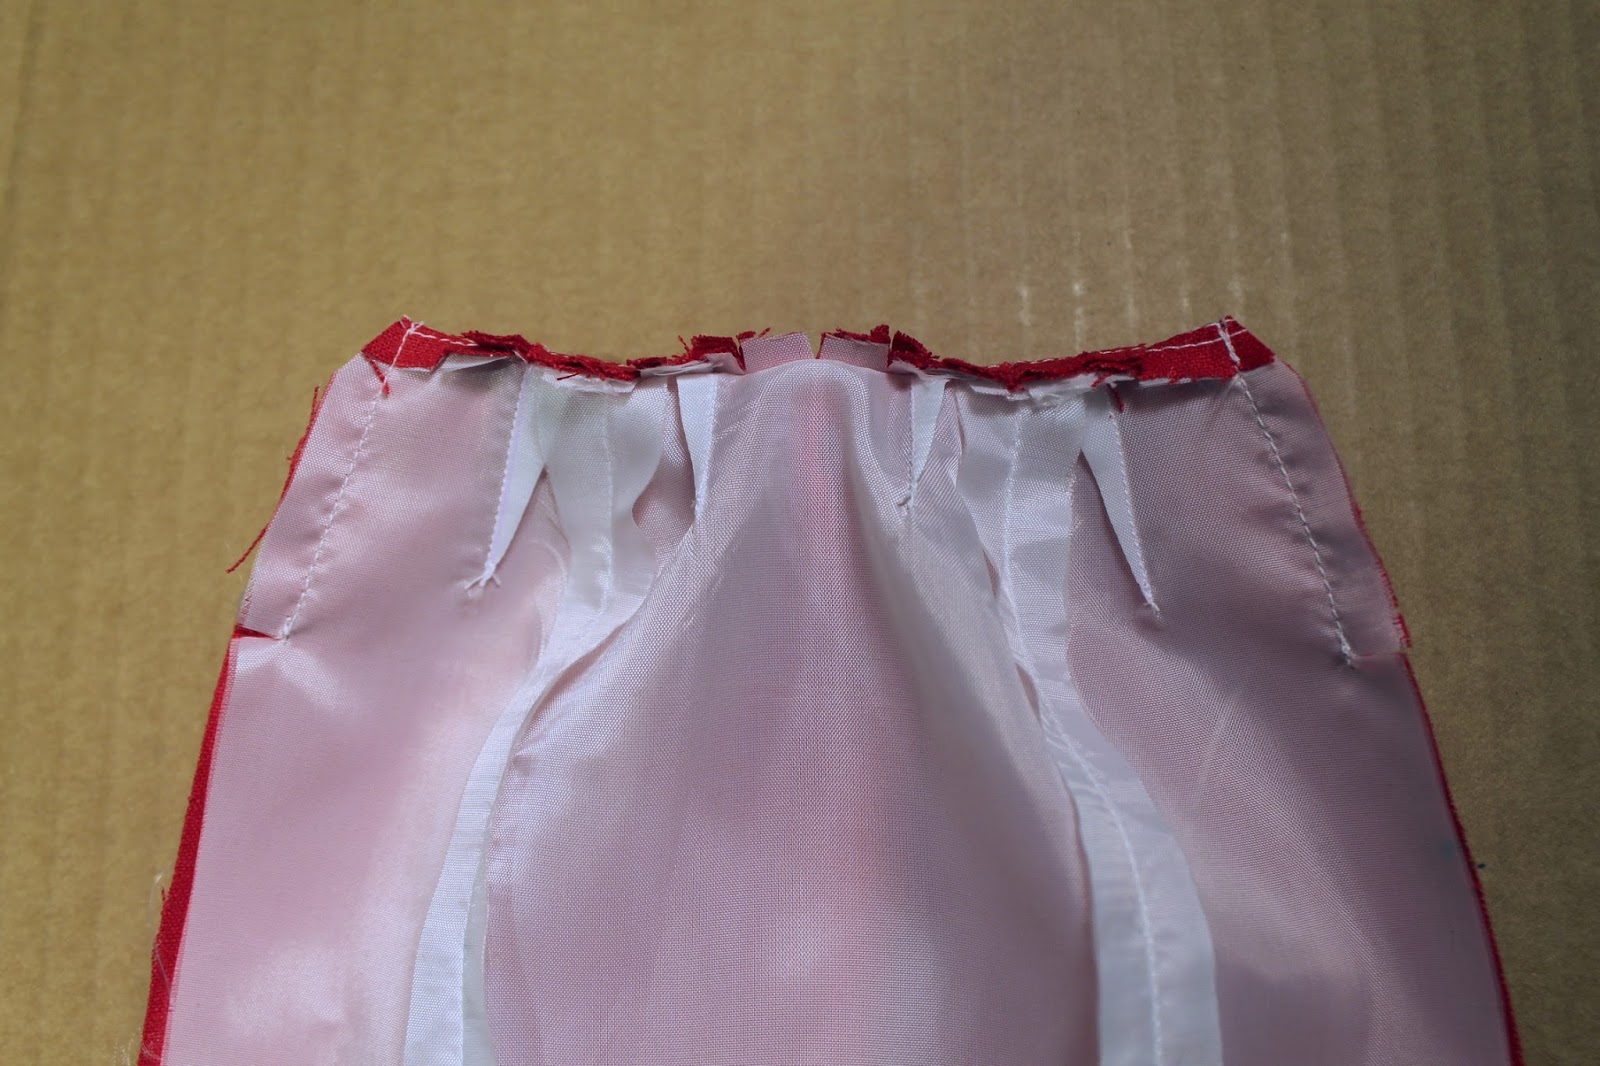
Clip the seam allowances to the end of the seam. Fray-check the clips.

Stitch the center back seam of the skirt.

The center back seam of the skirt lining only gets stitched about 1" at the top and bottom.

Press the back seam open and the back opening's seam allowances down.

Turn the skirt inside out through the opening. Press the hem and machine stitch the back opening closed. Sew a snap to the back of the skirt.
No comments:
Post a Comment